How to fix a leak from the back of the shower mount
The shower mount contains a white split washer that is visible from the back of the bracket. The gap in the washer is part of its design — it is not damaged or broken. When this washer is not seated correctly in its housing, it causes water to leak from behind the mount rather than through the hose connections.
The fix is to push the split washer fully into its seat. This sounds simple, and it is — but the washer can be fiddly to reach. Follow the steps below carefully and the leak will stop.
Watch the full assembly guide before starting: How to assemble the shower mount
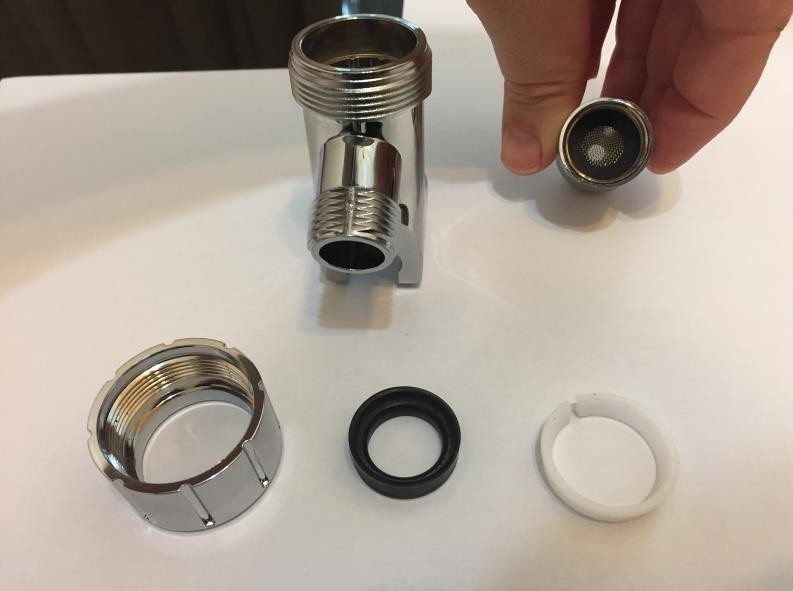
Step 1 — Insert the small black washer
Take the small black washer with the mesh centre and insert it inside the threaded end of the ball joint. This is the smaller of the two black washers and sits at the back of the assembly.
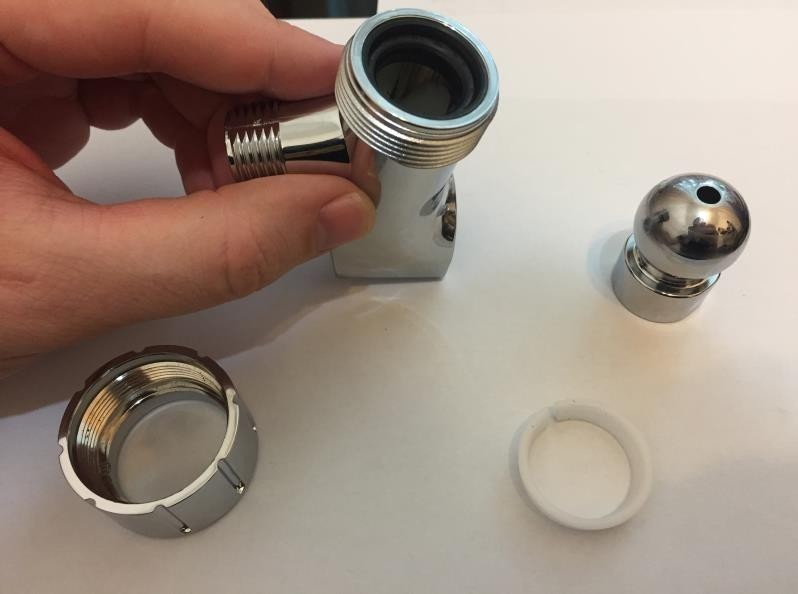
Step 2 — Insert the large black washer
Insert the large black washer into the front section of the shower mount housing. The tapered side of this washer faces outwards — away from the wall — so that it compresses into the socket when the bracket is assembled.
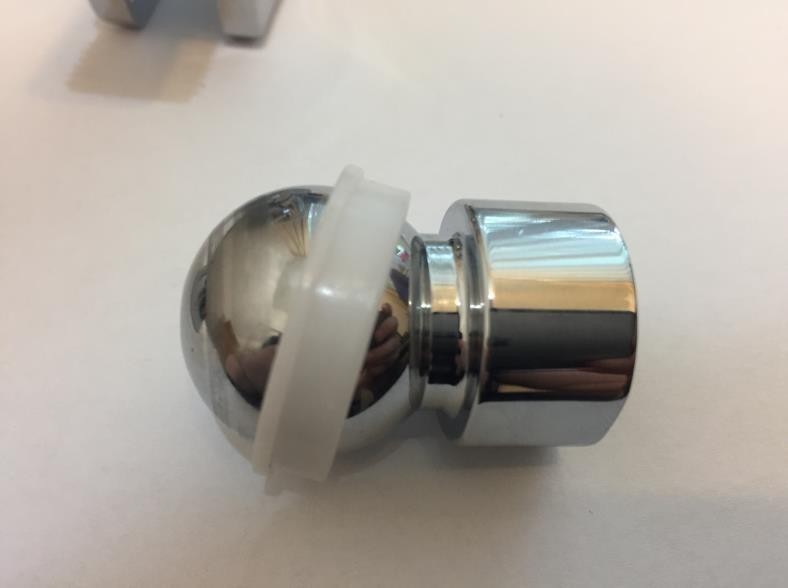
Step 3 — Fit the white split washer
Push the white split washer over the ball joint, making sure the side with the lip faces forward — away from the threaded back end. The split (gap) in the washer allows it to flex over the ball. This is normal — the washer is not defective.
Step 4 — Seat the ball joint
Place the ball joint into the outer collar of the shower mount housing. The white split washer should now be sitting between the ball and the collar.
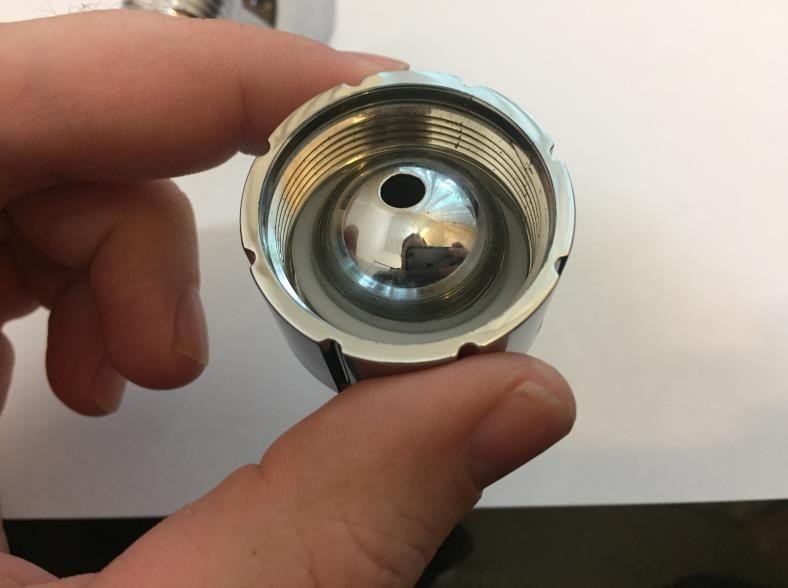
Step 5 — Press the washer flat
If the white split washer is not sitting fully flat in its housing — which is common — press it down firmly with a pen or screwdriver until it sits flush. This is the most important step. A washer that isn't fully seated will allow water to escape around the back of the mount.

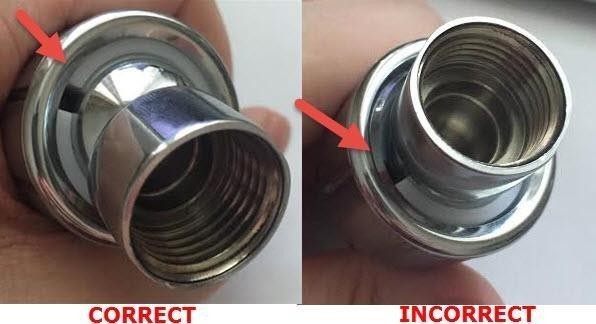
Final check
Assemble the two sections of the bracket together. Before attaching the hose, visually check the back of the mount — the white split washer should be sitting flat with no part of it raised or sticking out. If it isn't, repeat Step 5. Once correctly seated, run the shower to confirm the leak has stopped.