
The shower mount contains a white split washer (It is designed to have a gap, it is not broken) that is visible from the back of the mount. If the washer is not seated correctly in the connection, it will cause water to leak from the back of the shower mount.
The trick to fixing this leak is to push the split washer into place with a pen or screwdriver (see step 5 below). Full instructions are below:
How to assemble the shower mount
Step-by-step visual guide
Step 1
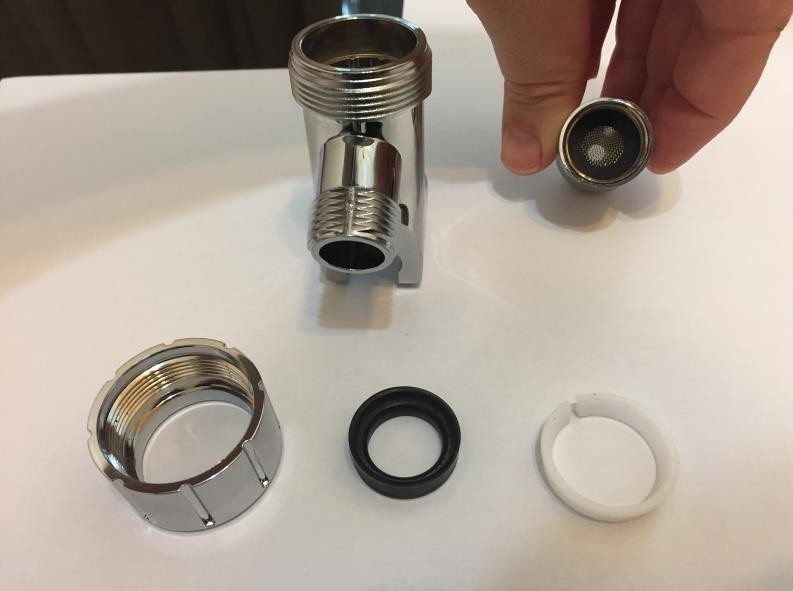
Insert the small black washer (with mesh center) inside the threaded end of the ball joint.
Step 2
Insert the large black washer into the front section of the shower mount. The tapered side needs to face outwards.
Step 3
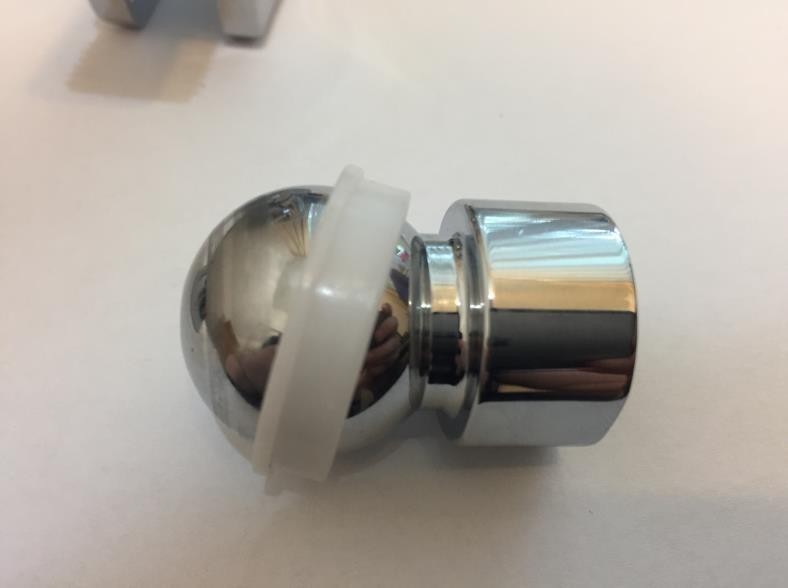
Push the white split washer over the ball, making sure that the side with the lip is facing forward (away from the back threaded end)
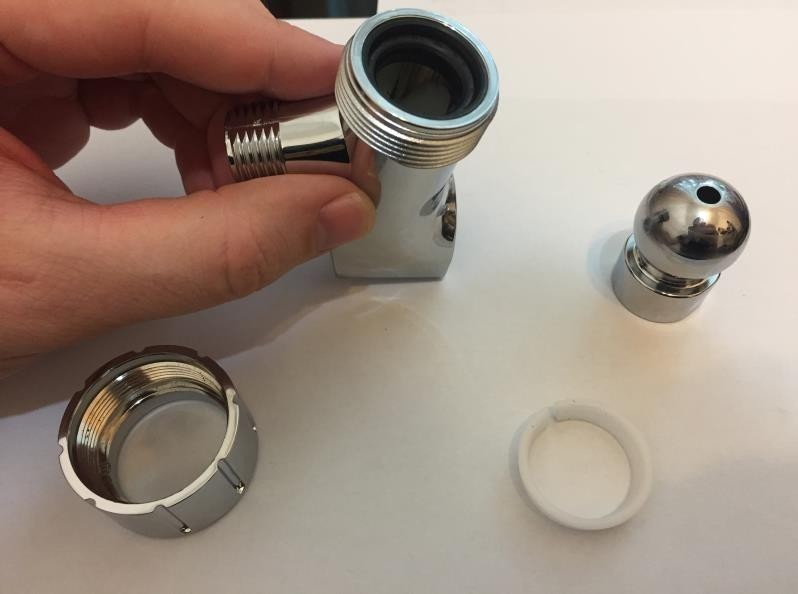
Step 4
Place the ball joint inside the outer collar.
Step 5

If the white washer does not sit flat, then push it down with a screwdriver or pen.
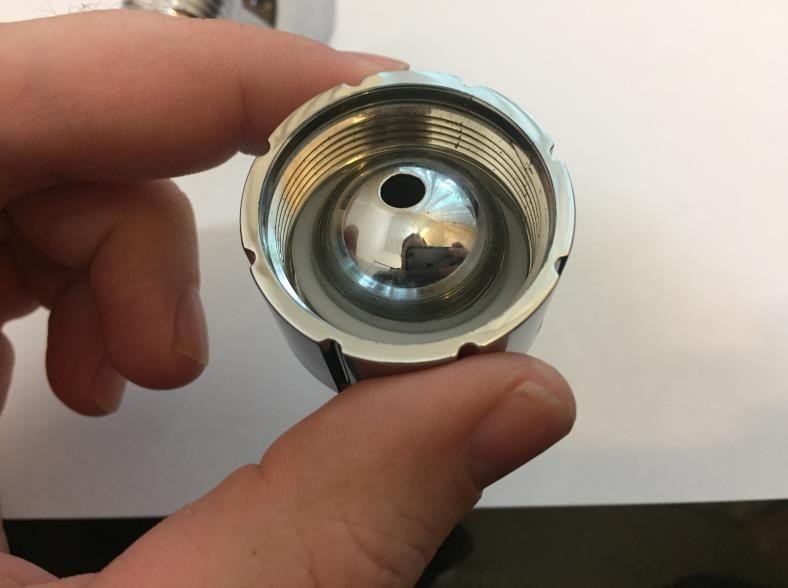
How the split washer should look after assembly
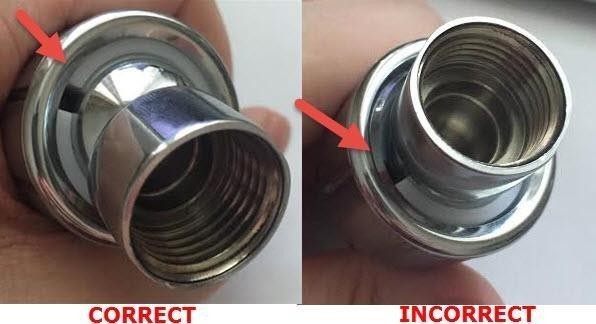
Assemble the two sections of the bracket, checking that the white split washer is sitting flat if not, repeat step 5.